

by Emily Cross Reeves
“Xeriscape” has been a buzzword in the drought-ridden west for several years now, but as we face summers that are getting drier and hotter in Colorado, it’s becoming more important than ever to buckle down on replacing water-hungry grass lawns with drought-tolerant plants and xeric gardens. We want to make it as easy as possible for people to replace their grass with low-water xeric gardens, so we’ve put together this simple step-by-step guide for xeriscaping in Colorado.
1) Observe your yard and designate sun and water zones (a.k.a. hydrozones)
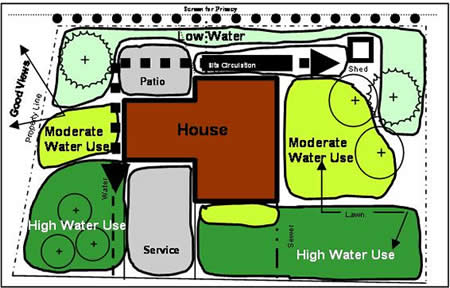
Before you begin your xeriscape project, it’s really important to get to know the land where you plan to plant your xeric garden. Observe your yard throughout the day and try using some grid paper to map out the sun and water zones in your yard.
When mapping your yard, ask yourself these questions: What areas receive full sun, part sun and full shade during the growing season? What areas get the most moisture? Divide your land into “hydrozones,” or zones that represent the water use needed to maintain the plants in that area. You’ll likely have a high-water use area where you grow herbs, vegetables and what remains of your grass lawn. The moderate-use zone is often referred to as the “transition zone” between the high- and low-use areas. Finally, designate the lowest water use zone. You’ll be planning and designing your xeric garden based on these zones.
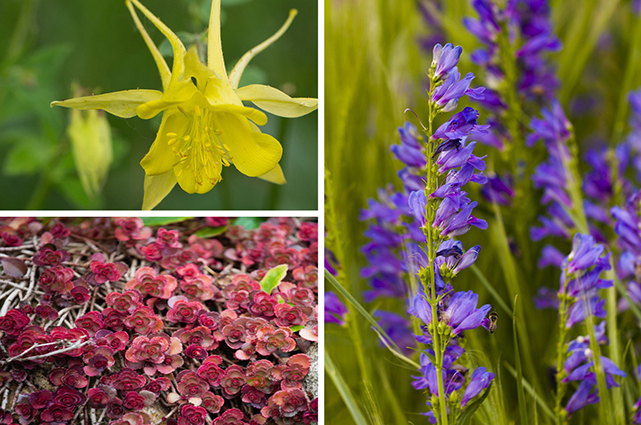 2) Learn about drought tolerant plants that thrive Colorado
Before spending any money on plants, it’s really important to get to know what kind of drought-tolerant plants do well in your area of Colorado. If you live in or near the foothills, you likely have rocky, fast draining and low-fertility soil ideal for most xeric plants. But, many areas on the Front Range have clay soil and would do better planted with drought-tolerant species that thrive (or at least adapt) to clay.
If you live in Colorado, any one of the Garden in a Box gardens will likely do well in your space, so it’s always worth the time checking the plant lists out on those. You can also find a list of some of our favorite drought-tolerant plants for Colorado here.
3) Remove the grass lawn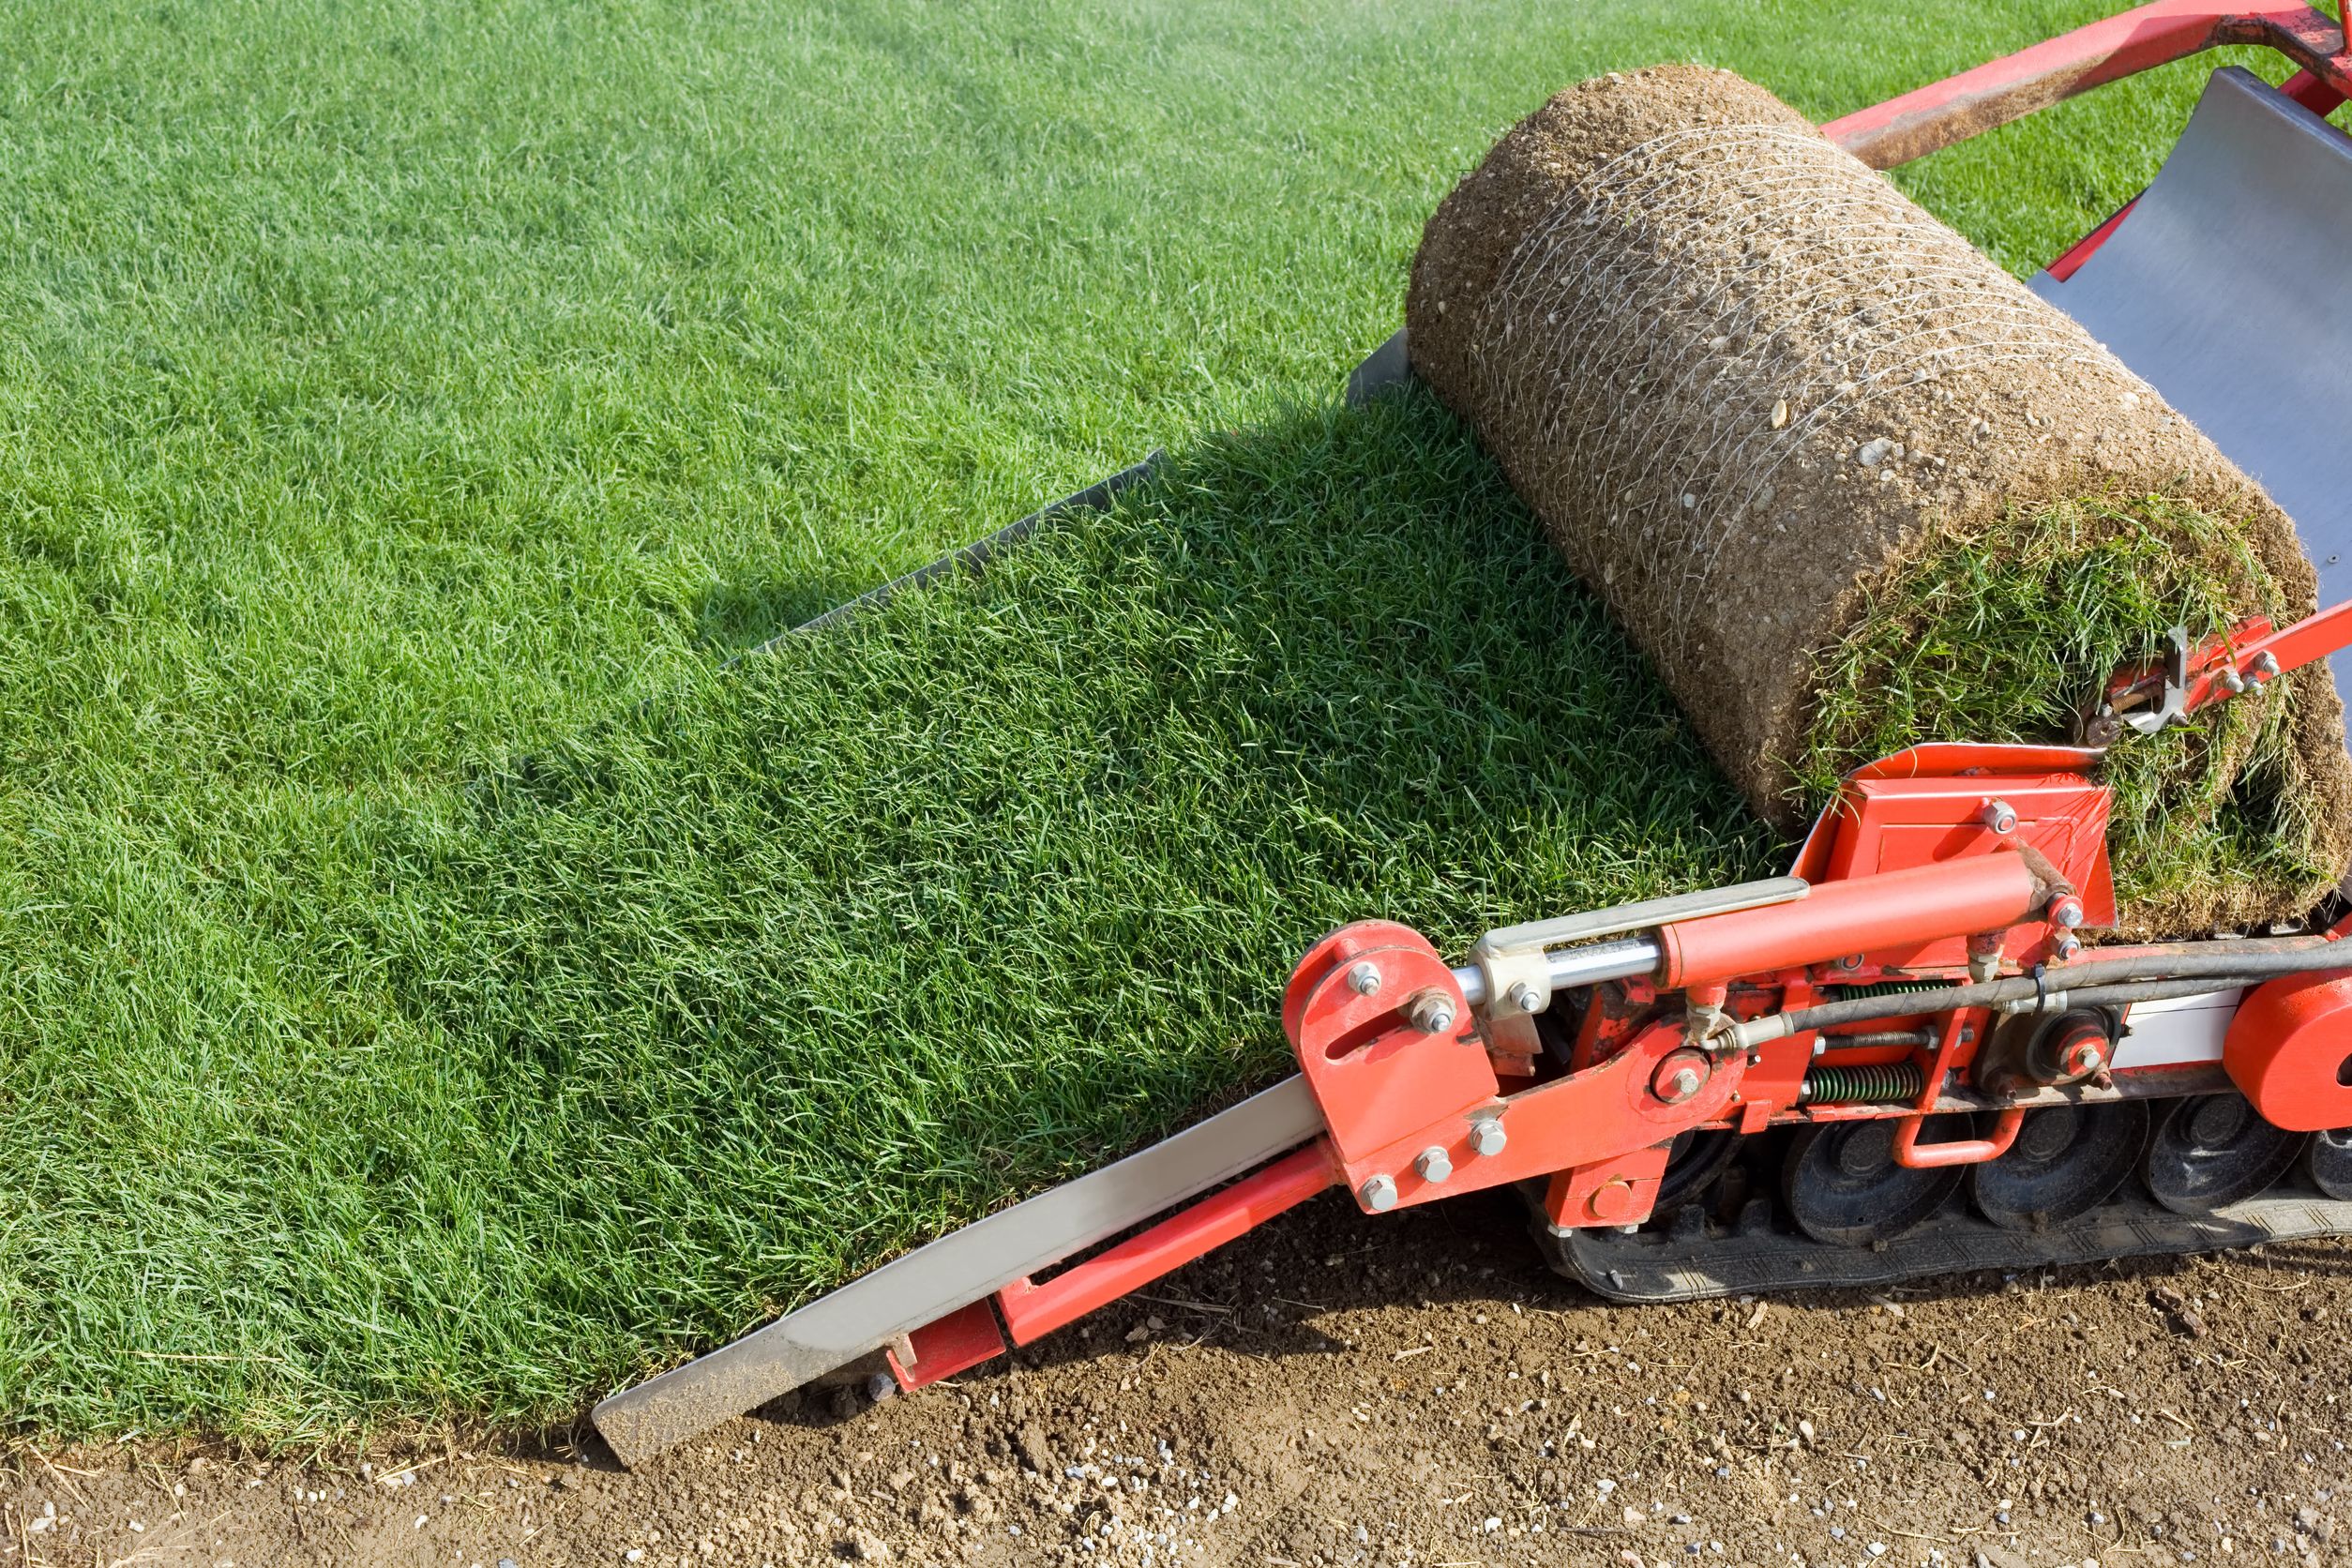
All right, here’s where a lot of people who would benefit from a xeric garden get stuck. Stay with me! One of the best things you can do for Colorado and for the planet is to replace your grass lawn with xeriscape, so this is a really important step and we can certainly help make things easier on you with our turf replacement program.
There are a few ways you can remove your grass lawn before planting your xeric plants:
Physical removal. Use a rototiller or a shovel to remove the grass from the roots. This is a great method for removing grass in small areas without irrigation systems that could be damaged by machinery or digging. It’s also helpful when you want to start planting as soon as possible because other methods can take weeks and sometimes months to get rid of the grass. However, physically removing your grass can be a daunting task when you have a large space to cover and/or an irrigation system that you don’t want to damage.
You can kill your grass and get rid of weeds by harnessing the heat of the sun. Cut your lawn as short as your mower will go, saturate the grass you are removing with water, and then cover it in clear plastic for 6 weeks (anchoring around the edges and in the middle where needed). If you’re planting in this area, you don’t even have to remove the dead grass. Just plant into it and mound soil around the plants. The grass will decompose into the soil.
Sheet mulching (a.k.a. lasagna method). Sheet mulching takes quite a bit of time, effort and materials if you’re covering a large area, but it leaves you with some lovely, rich soil. Again, start by mowing your lawn as short as you can. Then, put down a double-layer of cardboard or newspaper that’s 6-10 pages thick (avoid the ad inserts). Cover the cardboard or newspaper with compost and 4-6 inches of organic mulch, and then saturate it with water. Let this sit for several months, keeping it relatively moist. Once the layers have disintegrated and the grass has died, you can plant right into the soil without removing anything.
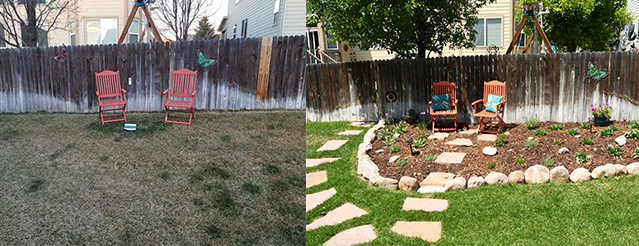 4) Plant xeric plants, add mulch and hardscape
Finally, you’ve removed your grass lawn and you’re ready to create the xeric garden of your dreams! It’s time to cash in on the knowledge you gained while researching drought-tolerant plants, bring some home and put them in the ground.
Here are a few tips to make your xeriscape a beautiful oasis for years to come:
– A good rule of thumb is to plant 18-24 inches apart, more for shrubs or fast-growing ground cover.
– You can use an organic fertilizer like Yum Yum Mix and a kelp concentrate when planting to reduce transplant shock and encourage root growth. Throwing some compost in always helps, too!
– Water deeply and infrequently to encourage deep roots and drought-resistant plants.
– Gravel and rock mulches are ideal for truly xeric plants, but organic mulch (dye-free) like bark chips are helpful, too.
– “Hardscape” like flagstone patios and/or pathways, large boulders and river rock are all beautiful additions to xeriscape but can be rather costly. Remember, you don’t have to use any hardscape to make your xeric garden beautiful!
– You can find more information about preparing, installing and maintaining a xeric garden here.
Transforming your grass lawn into a drought-tolerant xeric garden is one of the most rewarding home projects you can do. We hope this step-by-step xeriscape guide makes your transformation a bit easier!